Find it in Mynewsdesk: Publish > Press releases/News/Blog posts
The publish form is the same for all press releases, news and blog posts. So congratulations, on this page, you will learn all three at once! There is more to our publishing template than just writing a text and adding an image. Though you don’t need to use all functions, we hope that you get a sense of what they are used for, and why.

The publishing form is divided into three parts.
-
- Create story
-
- Publish story
-
- Confirm and publish
1. Create story
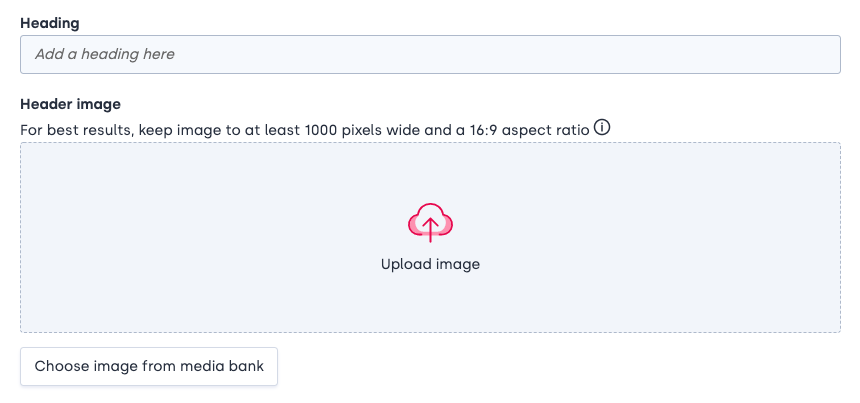
Heading – The heading works as a headline for your written content but will also be prominent in email subject lines and social media channels.
Header image – This image will be the most prominent picture. We recommend you to add a main image since it increases the click rate. The main image should be landscape to fit the frame. For best results, pick an image at least 1280×720 pixels and in 16:9 aspect ratio.nnNote: Don’t forget to include the header image under Related media to make it possible to download it in high resolution.
Body text – To get structure into your body text and enhance its readability, use the tool bar.

- Formatting put subheadings into your text.
- Make your text bold, italic or underlined.
- Create lists with bullet points or numbers.
- Create tables.
- Add links that lead to relevant sites.
- Add more images into your text.
- Embed video and audio players, like Youtube and Soundcloud.
- Use the HTML code if you want to add more features.
Snippet – The snippet will be shown in places where the full story is hidden, for example in Mynewsdesk stories, social media posts and subscriber emails. The snippet and body text will never be shown at the same time.
Quick tip! An easy way to write the Snippet is to reuse the lead paragraph from your body text.
Related media – Attach images, videos and documents to your story. This makes it easier for journalists and other readers to spread your content.
- Choose the content type you want to attach in the dropdown menu.
- Scroll in the list or search for the content in the search field above. You can also add new images, videos or documents by clicking Upload new.
- Mark one or more items and click done.
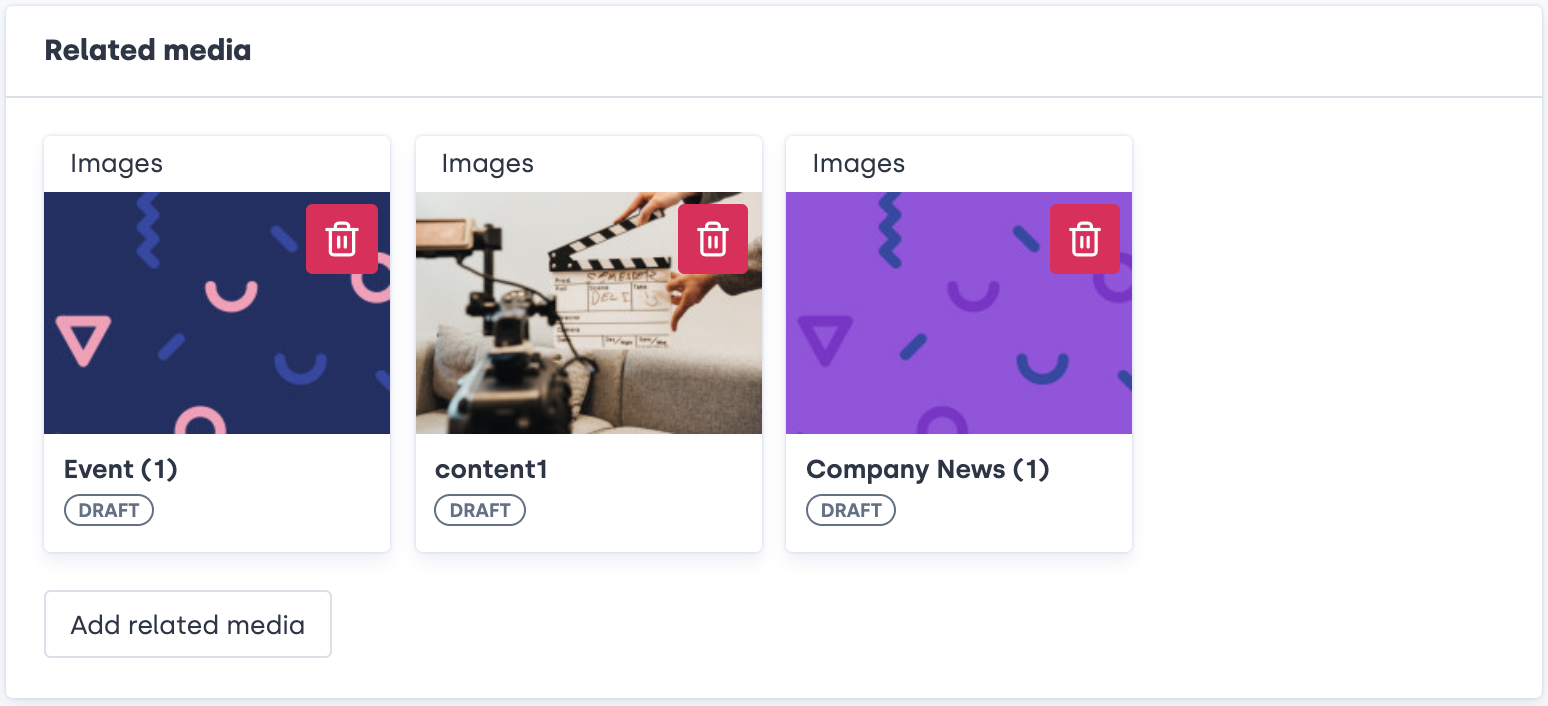
If you have newsrooms in other countries, you can attach images from those newsrooms as well. Just choose the newsroom you want to attach the image from in the scrolling menu at the top, and then pick the image you want by doing as above.
Quick tip! Attach images used in the body and header to make it possible to download them in high resolution.
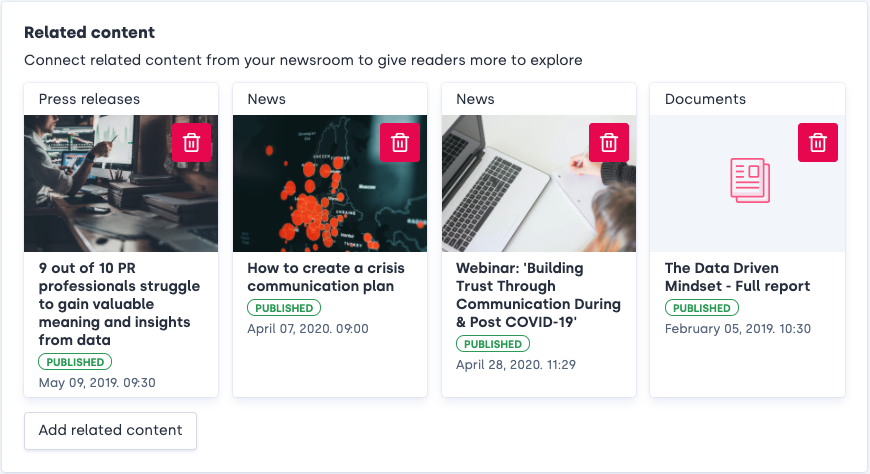
Related content – Related content allows you to build connections among stories in your newsroom. This opens up opportunities for your audience to continue reading more about subjects that already interest them. For example: if your story is about the launch of your new flagship store, you could add an interview with the new store manager as related content. You can also from related content attach relevant videos, documents, events and contacts to your story.
- Choose the content type you want to attach in the dropdown menu.
- Scroll in the list or search for the content in the search field above.
- Mark one or more items and click done.
Categories – Use categories to structure content in your newsroom and make it easy for your visitors to find the content they are looking for. A categories symbolizes a subject or group of stories that are connected to each other. A story can be attached to different categories at the same time. Example categories can be People for a new important recruitment or Products for the launch of a new product line. You should always try to keep categories as generic as possible – having too many different categories makes it harder for your reader to navigate in your newsroom.
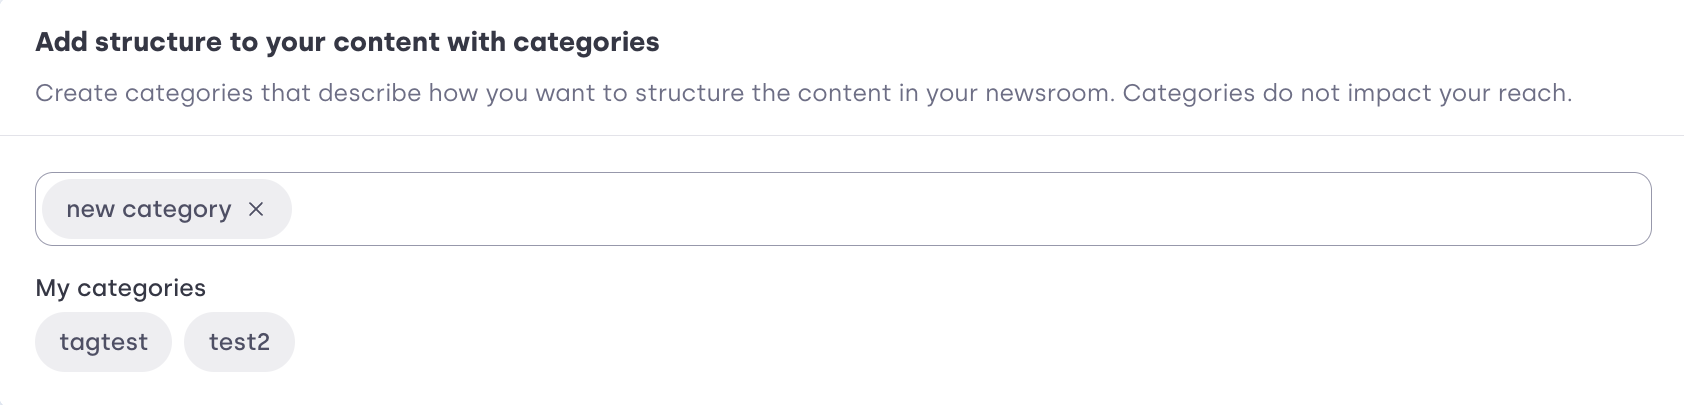 You can either use categories that you have used before, or add a new category by typing in the add category field.
Note: If you want to highlight certain categories, go to Settings -> Category management. A highlighted category shows up at the top of your news and media archive. Your highlighted categories will be displayed before all your other categories so you can easily access them.
Boilerplate – This is your company’s signature that will be shown below the body text. You can edit it or write a new one. The default boilerplate can be changed in Newsroom settings.

Send exclusive – Send your story to your contacts in advance before publishing.
Preview – See how your story will look like in your newsroom.
Continue to distribution – When you feel done with your story, continue to the second step—Distribution. You can always go back and edit your story before you publish.
2. Publish story
Visibility in Newsroom – Choose where you want to display your content. If you want your story to be pinned as top story in your newsroom, choose the visibility option Pinned as top story. 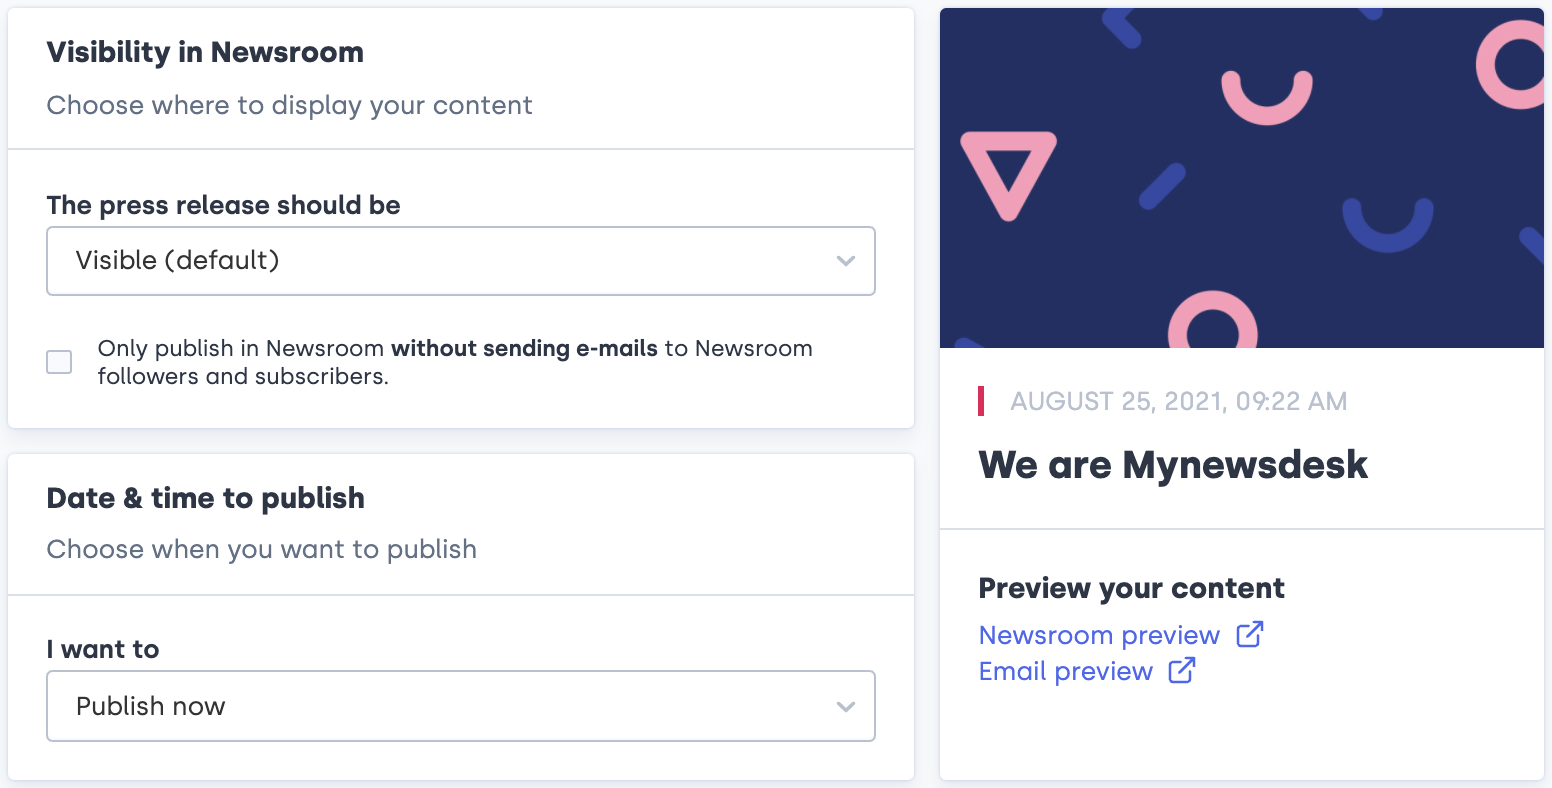
Date & time to publish – Choose when you want to publish your story. You can either publish it now or schedule it in the future or publish older content by backdating them. You can see a preview of your story to the right!
Quick tip! If you are a new use of Mynewsdesk or haven’t published anything yet, fill your newsroom with old content by backdating it. If you also tick the box only publish in Newsroom, it will not be sent out to subscribers or followers.
Topics and regions – Reach out to journalists who subscribe to content from Mynewsdesk by adding topics. Make sure you add relevant topics in order to reach the right audience. By adding a subtopic, you will reach both subscribers of the main topic as well as the subtopic. If you only add the main topic, you will reach subscribers of the main topic (not all the subtopics).
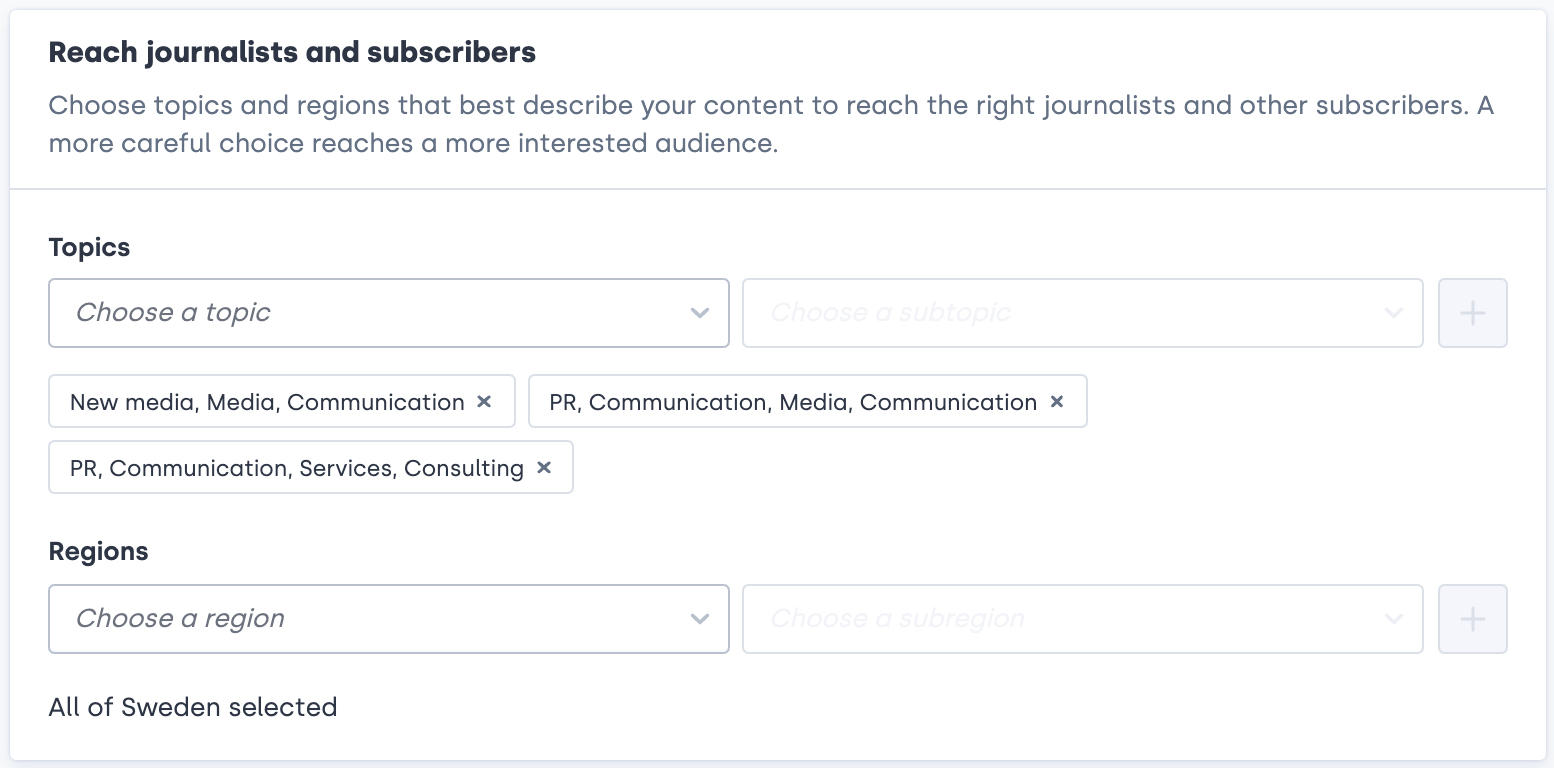
The same principle applies to regions. Add regions when your content is aimed at a specific region and if you want to reach out to local journalists. This works if you are participating in an event or open a new restaurant in a specific town.
Note: Use topics and regions to target the audience you want to reach.
Example 1:nIf you use the topic “Politics” and the region “Copenhagen” you will reach:
-
- People subscribing to Politics
-
- People subscribing to Copenhagen
-
- People subscribing to Politics in Copenhagen
Example 2:
If you use the subtopic “Elections (Politics)” you will reach:
-
- People subscribing to Elections
-
- People subscribing to Politics
You may select up to 10 topics and 10 regions. You can set and edit your default topics and subtopics in Newsroom settings. 
Email distribution – If you have added any lists in Contacts, select the lists that you want to send the story to. Your list recipients will receive the full story in their inbox.
Note: If the same recipients appear on several lists, duplicates are automatically eliminated by the system.
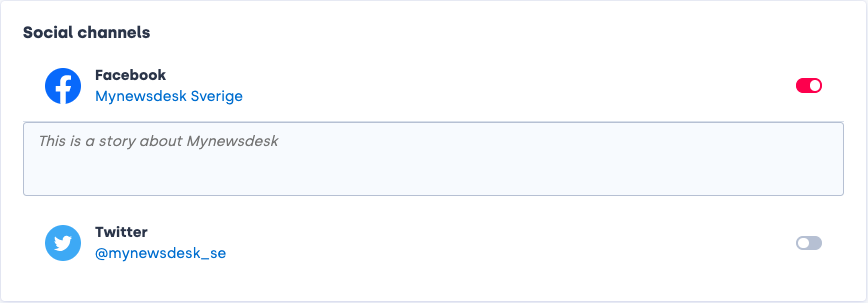
Social channels – Choose the social media you want to share your content in. You can add and edit your channels under Newsroom > Channels. You can customize the message in the field under each channel.
Edit – Go back and edit your story.

Continue to publish – Click here when you’re done with your story and want to move to step 3 to publish your story! A pop-up will appear with a summary of your chosen topics and regions, contact lists, social channels, related content as well as the publish time. Tick the box if you want all your related content, both drafts and scheduled, to be published at the same time. Click Publish to publish your story!